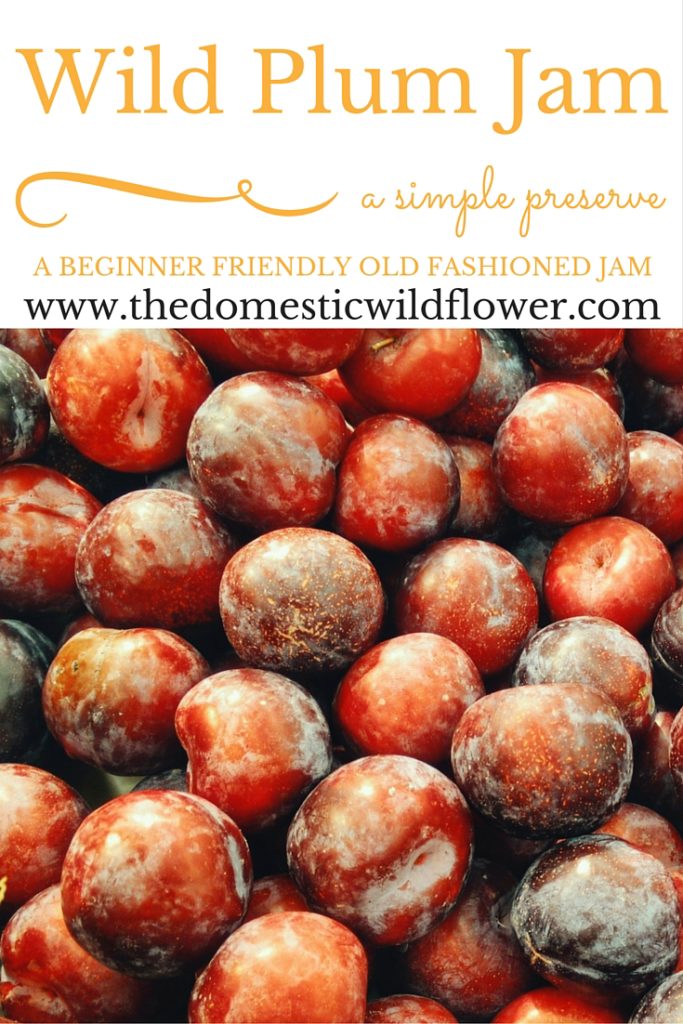
Have you ever made your own jam? Today Jenny from The Domestic Wildflower shares a recipe for making plum jam! She also shares a some places to read up on canning if you are interested!

My name is Jenny and I blog at The Domestic Wildflower where I share sewing, canning, and other old fashioned DIY. I wanted to share a special recipe with you all and I hope you love it as much as I do.
This recipe is a simple, easy recipe for brand new beginners. If you are a beginner, and want to learn more about canning, head to Start Canning and you will find all kinds of resources for brand new beginners!
My grandmother’s wild plum jam is simple, delicious, not too sweet, and one that I have loved eating on toast at her place all my life.
I read up a bit about wild plums and it sounds like if you ask around in the summertime, where ever you may be, that you can find wild plums in many places. I have found once you reveal that you are a canner (or want to be!) people are very willing to offload produce for free or cheap, so I’d ask friends and neighbors before paying top dollar in a market.
The recipe will work with regular plums but the tart plums that grow wild are more of a golden hue and have a complex and unique flavor. Seek out wild ones first, and then resort to the grocery store variety.

Prepare your water bath canning pot. This should be a large pot, at least 3 inches taller than your tallest jar. Use a wire canning rack or a silicone trivet in the bottom. I like half pints for jam, but use whatever canning jars you have on hand. Fill the pot and jars with hot tap water. Bring to a boil.
Fill a saucepan with hot water and coordinating brand new canning lids and matching sized rings and bring to a simmer.
Prepare the following jam recipe in a preserving pan as the above pots come to a boil.
Wild Plum Jam
5 cups sugar
5 cups pitted wild plums (you can rough chop or run through a food mill first if you desire a smoother spread)
1 cup water
Boil together for 15 minutes, stirring often.
Following safe water bath canning practice outlined in any good canning book or here http://nchfp.uga.edu/publications/publications_usda.html on the USDA site.
Ladle the hot jam into hot jars one at a time, leave ½ inch headspace, put lids and rings on, and process for 15 minutes in a boiling water bath. Remember to adjust for changes in elevation; add 5 minutes to the total processing time for every 1000 feet you live above sea level. Remove carefully from the water bath when the time is up to rest on a towel covered countertop. Listen closely for the lids to seal (they will make a satisfying “ping” noise) in a few minutes or up to 12 hours later. Leave the jars undisturbed on the countertop for up to 24 hours before you label and store in a cool, dark space.
You don’t have to can this recipe, either. You can ladle the hot jam into sterilized (boiled) jars and put canning lids on them and store in the refrigerator.
Note: The jars may seal if you just put the hot jam into the hot jars. That does NOT mean it is shelf stable- it just means it won’t leak out if you tip it over, at best. Processed in a water bath for 15 minutes = shelf stable up to a year. No water bath = fridge stable for a month. In fact, if you are storing this in the fridge, you can cut back on the sugar and the only effect will the the thickness of the jam. Play around with this and embrace the idea that wild produce will produce different preserves from place to place and batch to batch.
Thank you so much for the chance to share my love of canning with you all. If you are looking for more beginner friendly canning resources, head to www.startcanning.com to learn more!
[gmc_recipe 3937]
Thanks so much for sharing your plum jam recipe Jenny! Canning looks so much easier than I thought it was! I remember my grandma canning tomato juice, peaches, and all sorts of vegetables when I was growing up! I don’t like tomatoes, but her tomato juice was always so good! Have you ever canned any vegetables or made jam?

