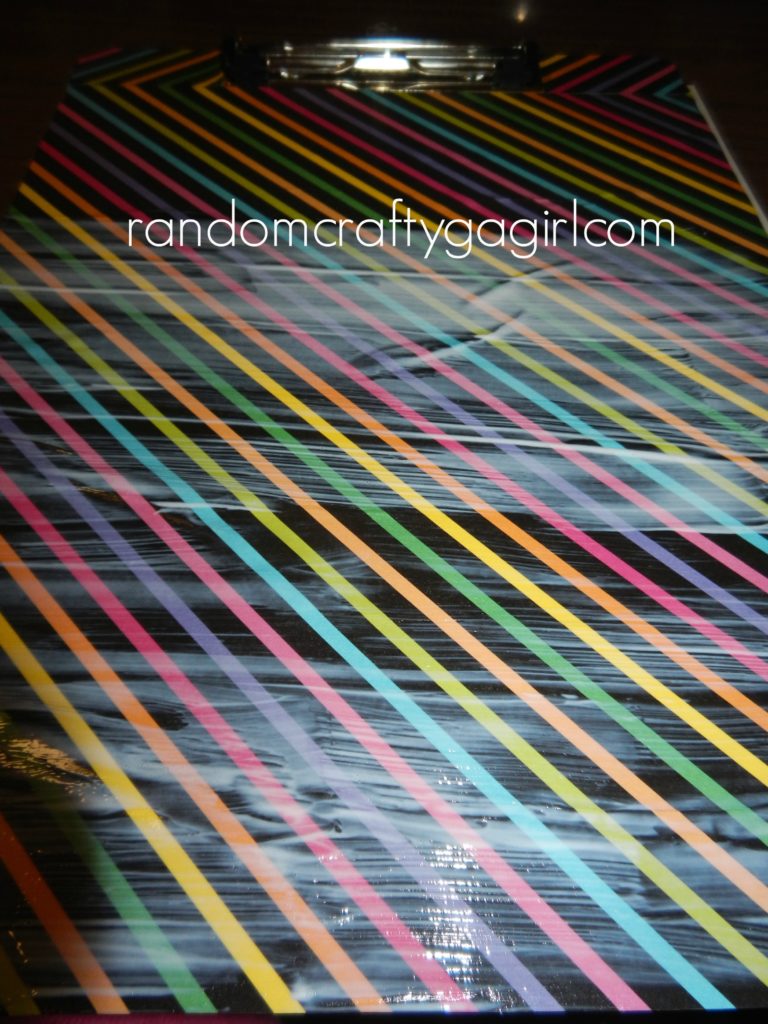
Making Your Clipboard Pretty

Making your clipboard pretty is super easy! I made them ALL THE TIME when I was in high school. I’d make them as Christmas and birthday gifts for friends. Even if they didn’t need a new clipboard they were getting one! Haha!

Do you want to make one? Here’s a step by step on making your clipboard :

making your clipboard pretty RCGG

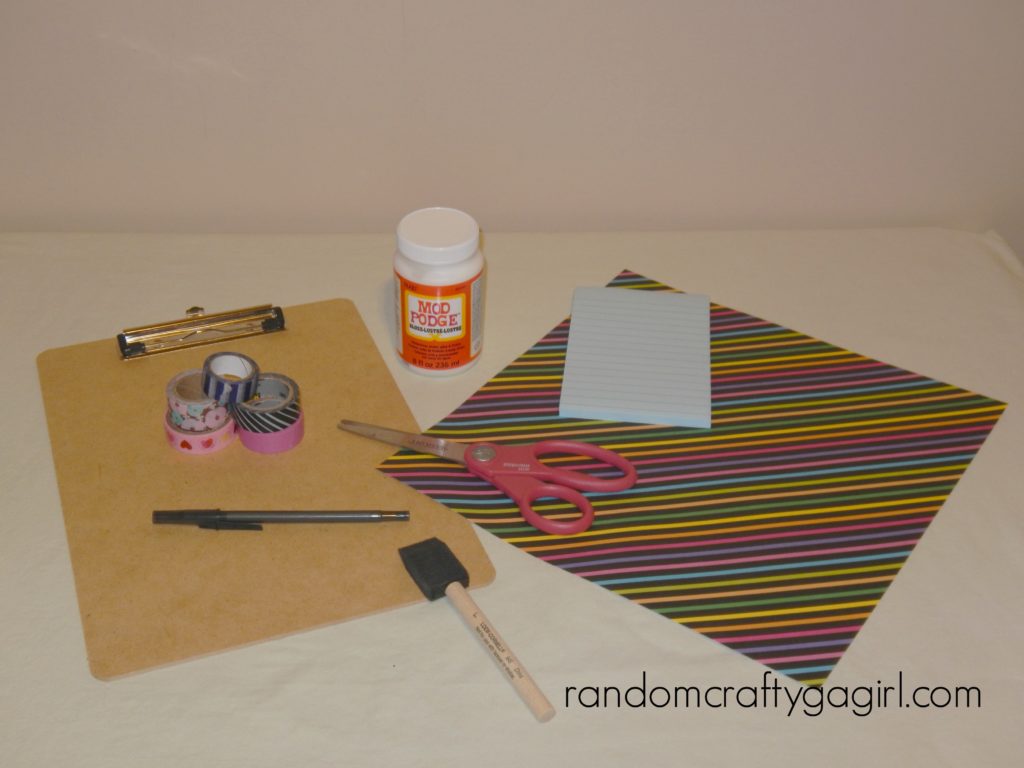
What you need for making your clipboard pretty:
a clipboard
notepad
scrapbook paper
pen
scissors
modge podge
foam brush
stickers (if desired)
washi tape (if desired)
ribbons (if desired)

Instructions:

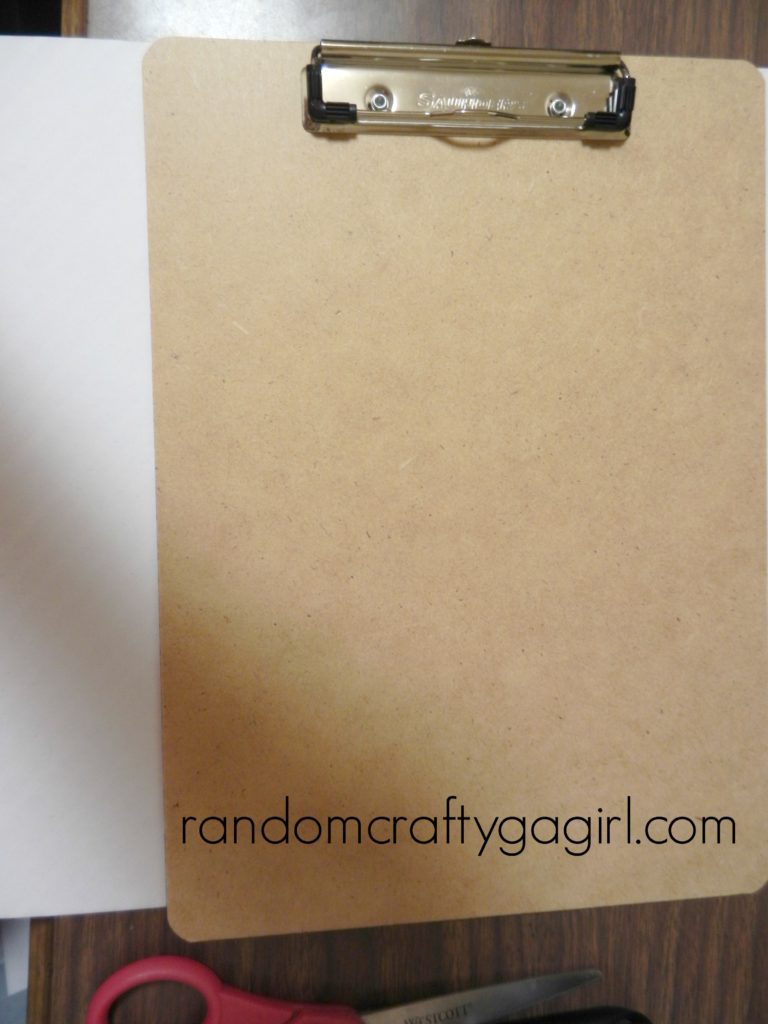
Trace an outline of the clipboard onto the scrapbook paper and cut out around the line you traced.

making your clipboad pretty RCGG step 1
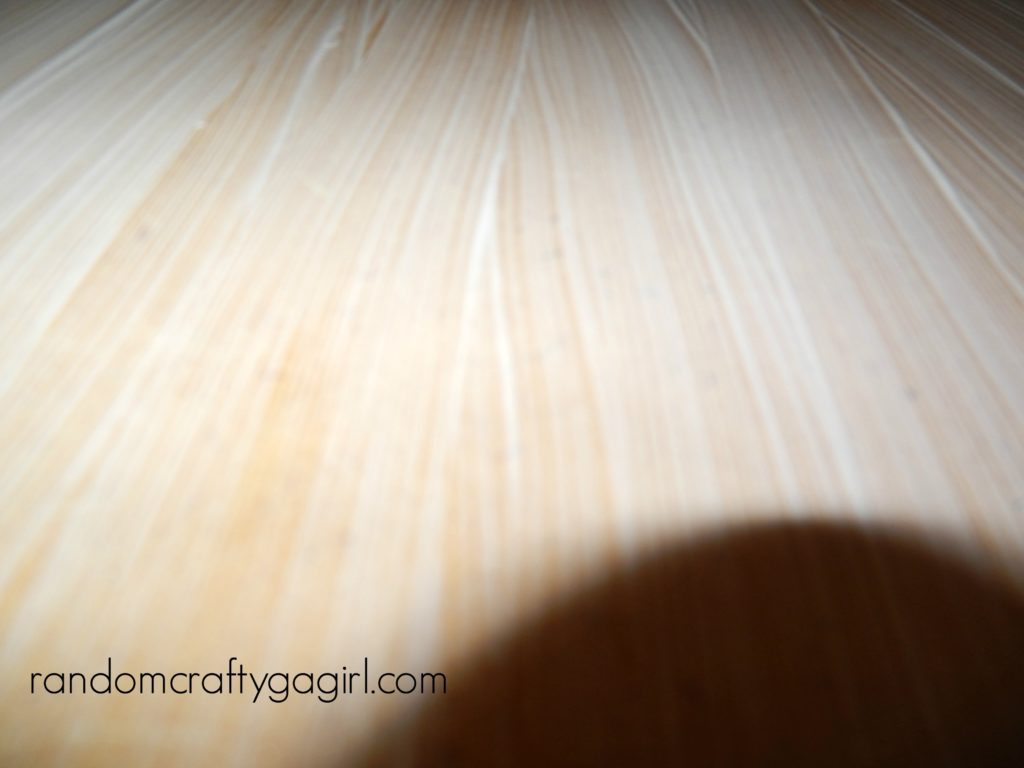
Using your foam brush spread a thin layer of modge podge onto the clipboard.

making your clipboad pretty RCGG step 2
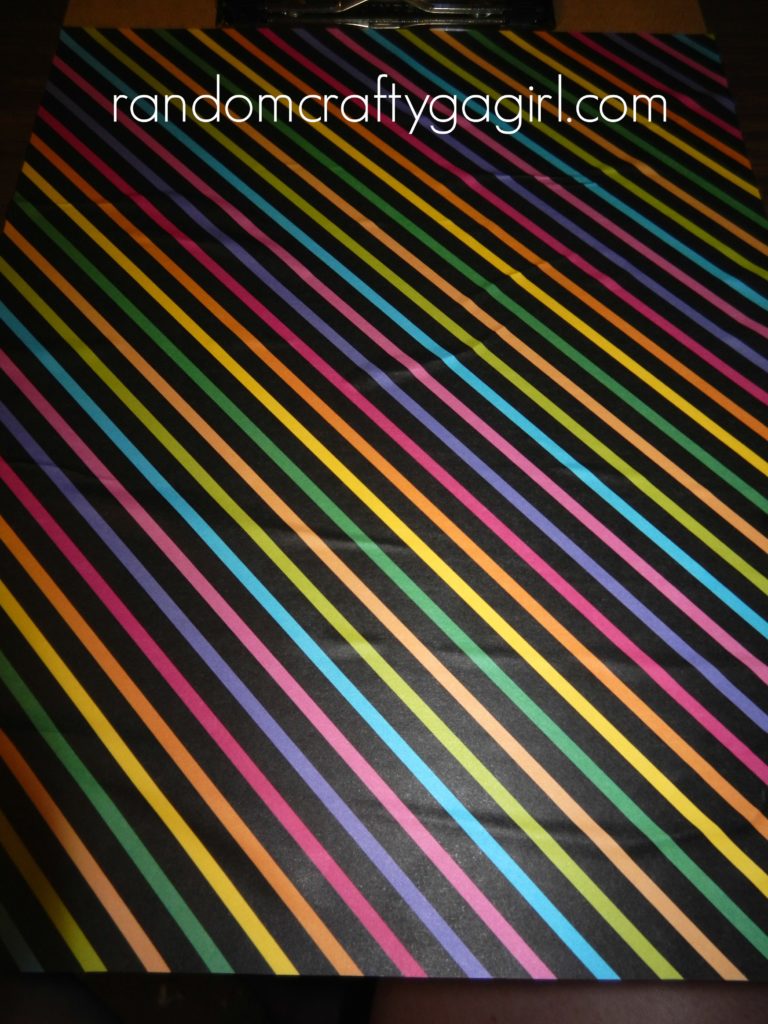
Position scrapbook paper onto clipboard. There may be air bubbles when you apply the paper to the glue. If this bothers you then try to work them out. If they don’t bother you then you can leave them. I can never get the out but they usually annoy me. You can’t really see them in the finished product. Let dry for 15 minutes.

making your clipboad pretty RCGG step 3
Seal the paper with a few layers of modge podge. I usually do four just to make sure. Let dry for 15 minutes.

making your clipboad note pad RCGG step 4
Add any embellishments to the clipboard. You can use stickers to spell out a name or add washi tape to the clipboard.

I usually don’t add a notepad to my clipboards, but if you would like to add one all you need to do is use a strong glue like E6000 or a hot glue gun and attach the notepad to the clipboard. I don’t do this because if you run out of the pages on the notepad then you have to replace it.

You can add ribbon to the paper holder of the clipboard if you want. I usually don’t, but that’s just my preference.

This entry was posted in Crafts. Bookmark the permalink.