Andersonville Civil War Prison Camp
Thank You Notes A Lost Art
With technology in our world now people tend to think that with email, texting, and social medias that communication is always instant. What about the people that aren’t always connected to media? How would you communicate with them?
Pesto Salmon
I don’t like seafood, but I know there’s MANY people that do! Today, I’m sharing a recipe from a member of my tribe, Laura!
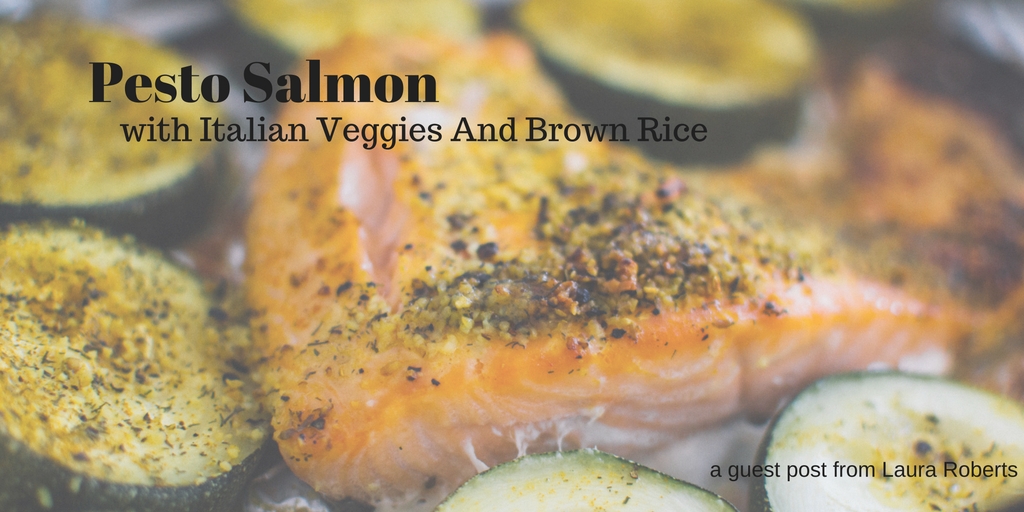
Pesto Salmon With Italian Veggies And Brown Rice
This is an amazing recipe I found online that is perfect for someone like me, who likes to eat healthy, but doesn’t enjoy slaving away in a kitchen all day. I especially love that the salmon and veggies cook together in their own individual foil packets, because it makes serving a breeze! As long as you have all your ingredients and cooking utensils gathered beforehand, this is a quick, healthy, delicious meal that the whole family will enjoy!
Prep Time: About 20 Minutes
Cook Time: 20-28 Minutes
Serves 6
Ingredients:
Six Salmon Filets (About 3 in. thick)
24oz Fresh Green Beans
1 Container Cherry Tomatoes
1 Jar Pesto Sauce
6tsp lemon juice (I used one large fresh lemon)
3 Tsp Olive Oil
Salt, Pepper, Garlic Powder, Onion Powder (to taste)
Six Sheets Aluminum Foil (14in. long)
Minute Rice Brown Rice (Follow instructions on packet)
Preparation:
Preheat oven to 400◦F. Rinse salmon filets with water, season both sides with salt, pepper, garlic powder and onion powder, then set aside. I recommend buying the salmon pre-fileted, however if you have to filet the fish yourself, YouTube provides several helpful tutorial videos to make your life easier!
Bring a large pot of water to a boil for the green beans. (Add a pinch of salt to make it boil faster!) While the water is boiling, slice the cherry tomatoes in half, then toss in a small bowl with 1 tsp olive oil and salt, pepper, and garlic powder to taste. When the water comes to a boil, add green beans and let boil for 3 minutes, stirring once, then remove the pot from the stove and strain the green beans.
In a medium sized bowl, toss the green beans with 2 tsp Olive Oil, plus salt and pepper to taste.
Now, lay out one sheet of aluminum foil, and place about 4oz of green beans neatly in the center. Place one salmon filet on top of the green beans, then spread one tbsp of Pesto over the top of the filet, along with one spoonful of tomatoes. Wrap the sides of the foil over, then fold the edges up and pinch to seal. Repeat this with the other five filets, then stack on cookie sheet side by side and bake 20-28 minutes at 400◦F.
Cook the minute rice according to the instructions on the box. It can be made in the microwave in minutes!
Unwrap pouches, serve, and enjoy!
[gmc_recipe 4083]
Cat Takeover in Savannah
Hey! It’s Ollie and Peachy again! We decided that it was time for a Cat Takeover. Did you hear that we moved to Savannah GA? It was a long trip from Atlanta, but we made it. We are getting used to our new routine and schedule! We like exploring our new home and hanging out with Mommy and Daddy. We like being able to sit on the couch and chair. Ollie watches Gilmore Girls on Netflix with Mommy during the day While I (Peachy) nap. I get to come out and play when Daddy gets home from work. The little girl upstairs is always running around. She’s three. There’s this dog in the apartment downstairs that’s always barking. He’s so annoying when we are trying to sleep! Other than the barking dog we really like our new home. We are enjoying all the boxes that have been unpacked because it’s like a cat fort! Haha! You know how it goes, I fit I sit!
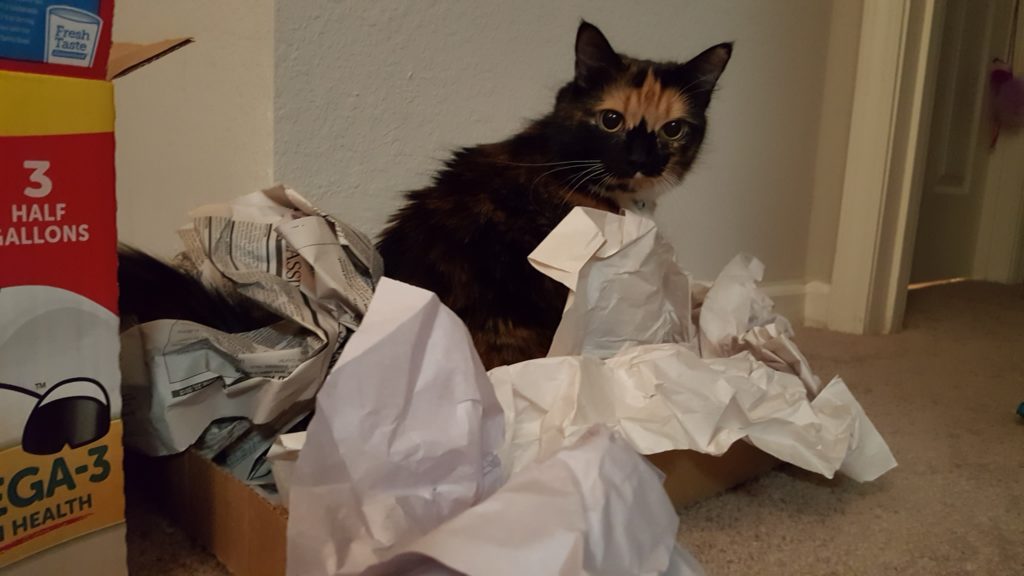
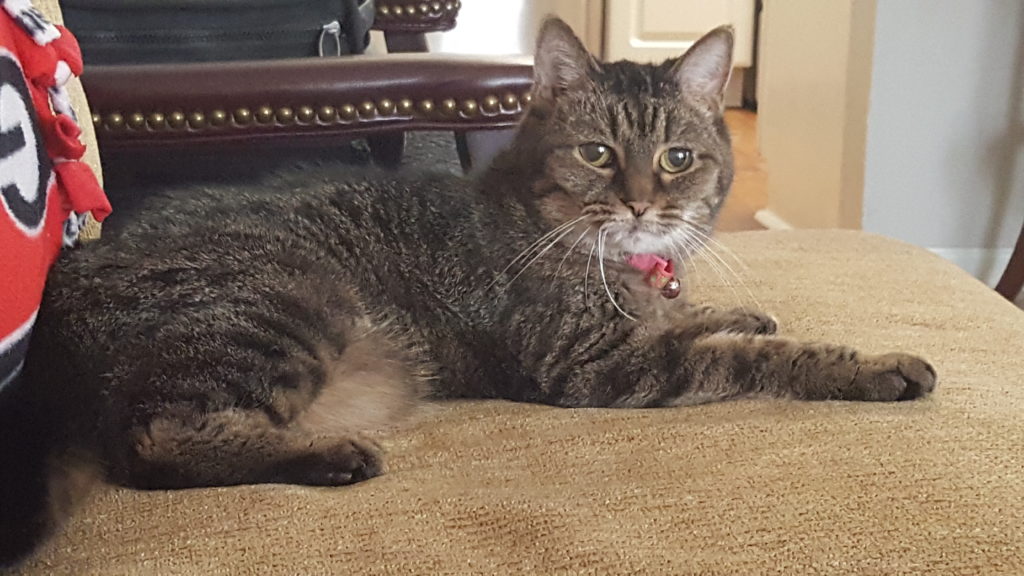
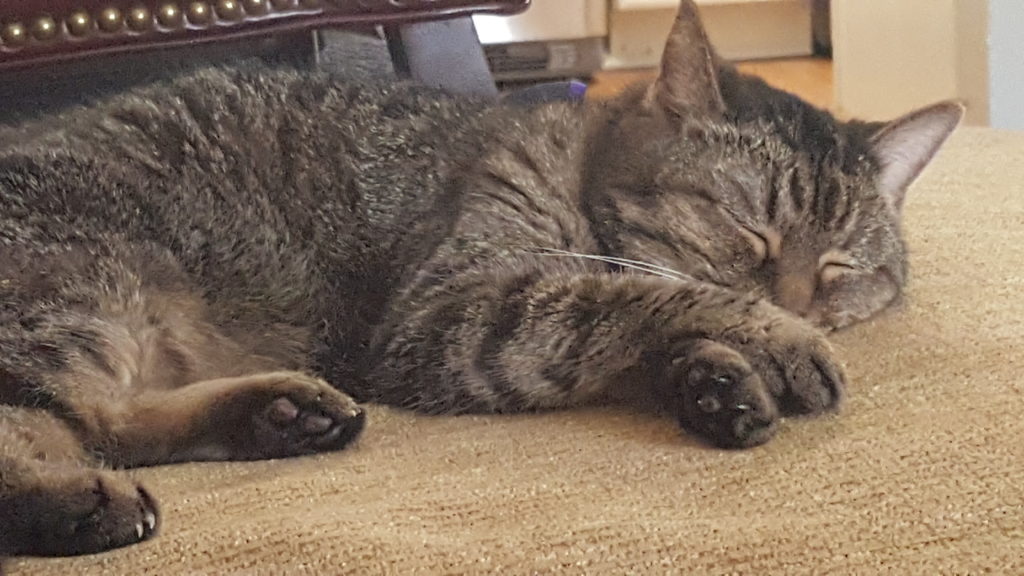
We really like Savannah! It’s a fun place to live!
The Golden Isles of Georgia
The Golden Isles of Georgia are St. Simon’s Island, Little St. Simon’s Island, Sea Island, and Jekyll Island. This is one of our favorite places to travel. We love the beaches and the beauty of the area. The atmosphere is very family friendly as well!
 I’ll start by taking you to St. Simon’s Island. The lighthouse is a great place to start a trip! The St. Simon’s Lighthouse has a long history. It was constructed around 1810 and is still used today. It was automated in the 1950’s so the need for a lighthouse keeper is no longer needed. The lighthouse keeper’s cottage is still there though. You can read the entire history of the St. Simon’s Lighthouse here.
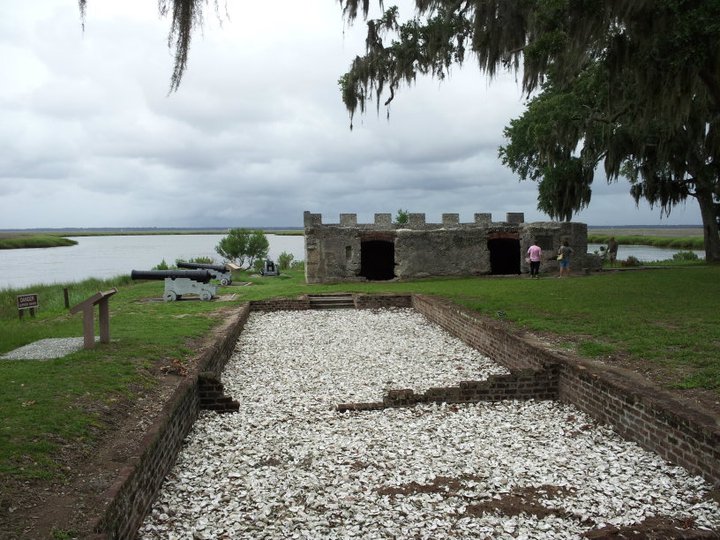
Another fun adventure on St. Simon’s is Fort Frederica.
In the 1700’s Georgia was in the middle of a centuries old conflict between Spain and England. James Oglethorpe founded the fort to protect his state. Colonists from England, Scotland, and the Germanic states come to support him. By 1740 Fort Frederica had a population of 500 citizens. In 1742 Spanish and British troops fought for Georgia’s future. In The Battle of Bloody Marsh Georgia became a British Colony. The threat to Coastal Georgia was no longer an issue and the fort was dissolved in 1749.
Today only remains of the fort and town are left and are maintained by the National Park Service.
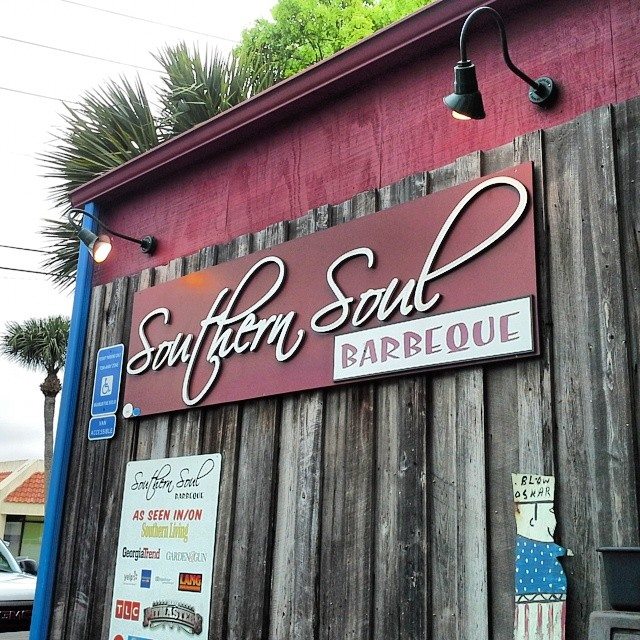
One of our favorite places to eat on St. Simon’s Island is a tiny little place with some major flavor! It’s called Southern Soul BBQ.
It has been featured on the Food Network show called Diner’s Drive In’s and Dives. Be prepared for a crowd if you check this place out. It’s worth it though! I recommend the Barbecuban and the Brunswick chili. Both are so good! Southern Soul doesn’t have a set style of BBQ. What I mean by this is that they don’t have say that they specialize in KC, Memphis, or Carolina BBQ styles. They have a little of it all! It’s all good! You can get their sauces from their online store if you can’t make it down anytime soon!
I don’t know too much about Little St. Simon’s Island or Sea Island since we have never been to these islands. I’m sure they are just as beautiful though!
Our favorite place in the Golden Isles is Jekyll Island. It is where Mr. RCGG and I were married 2 1/2 years ago and the place we continue to go back to every year! It is a very family friendly island. Jekyll Island is a very historical island. There are several historical sites on the island.
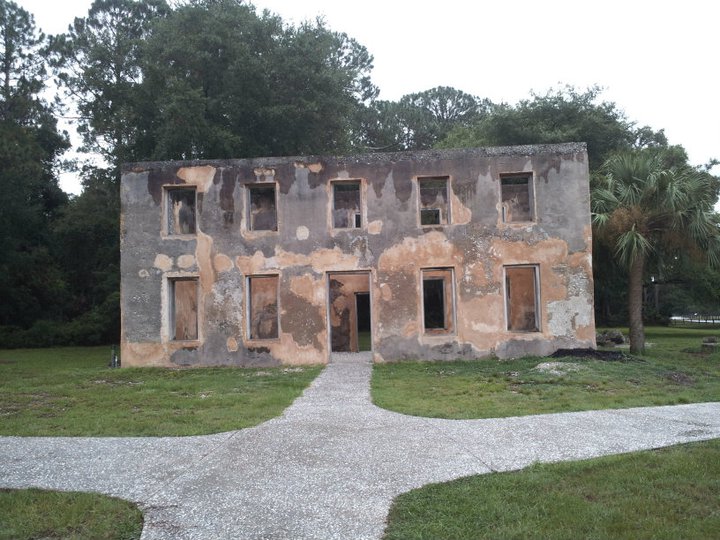
Horton House was owned by William Horton. He was granted Jekyll Island by the trustees of the colony of Georgia. His first house was destroyed by a fire, so he rebuilt the home that still stands today in 1743.
The Jekyll Island Club was an elite group of our country’s old time millionaires like J.P. Morgan, William Rockefeller, Vincent Astor, Joseph Pulitzer, and William K. Vanderbilt. There is an extensive history of the Club that you can read here. The men used the island as a retreat to get away from the hustle and bustle of their every day big business life.
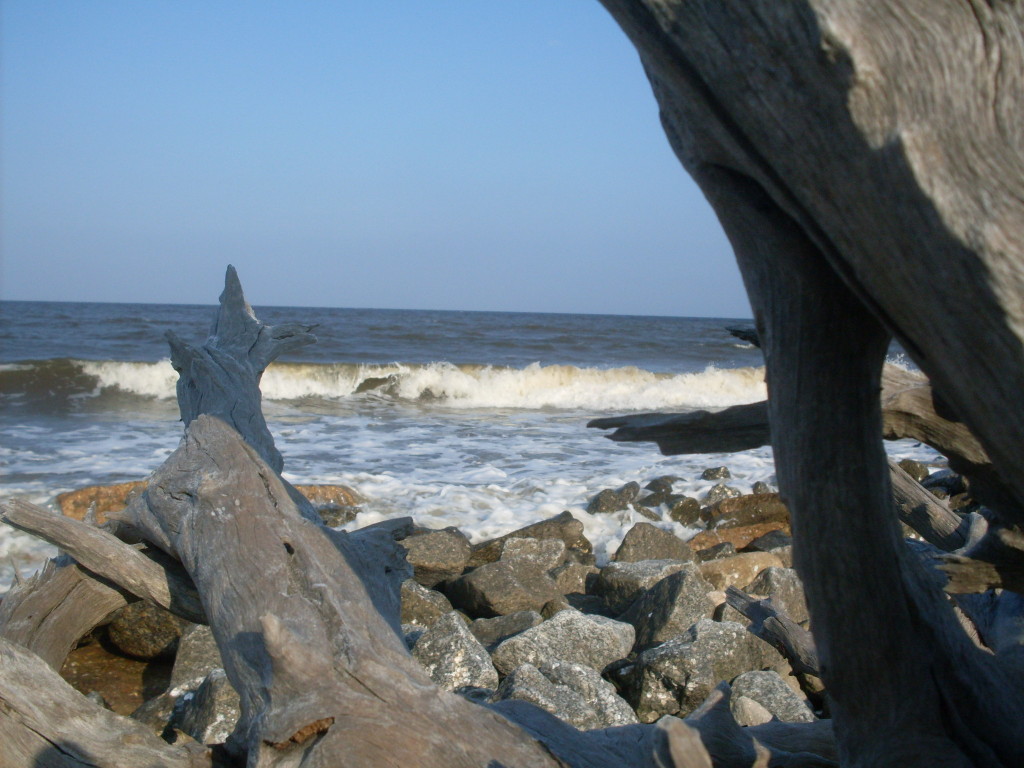
One of our favorite places on Jekyll Island is Driftwood Beach. It is a secluded beach on the north side of the island. It is absolutely breathtaking. 
Another great place on Jekyll Island is the Georgia Sea Turtle Center. The GSTC rehabilitates injured sea turtles from all over the Eastern part of the country. It is a great place to learn all about sea turtles and watch them as they heal from their injuries.
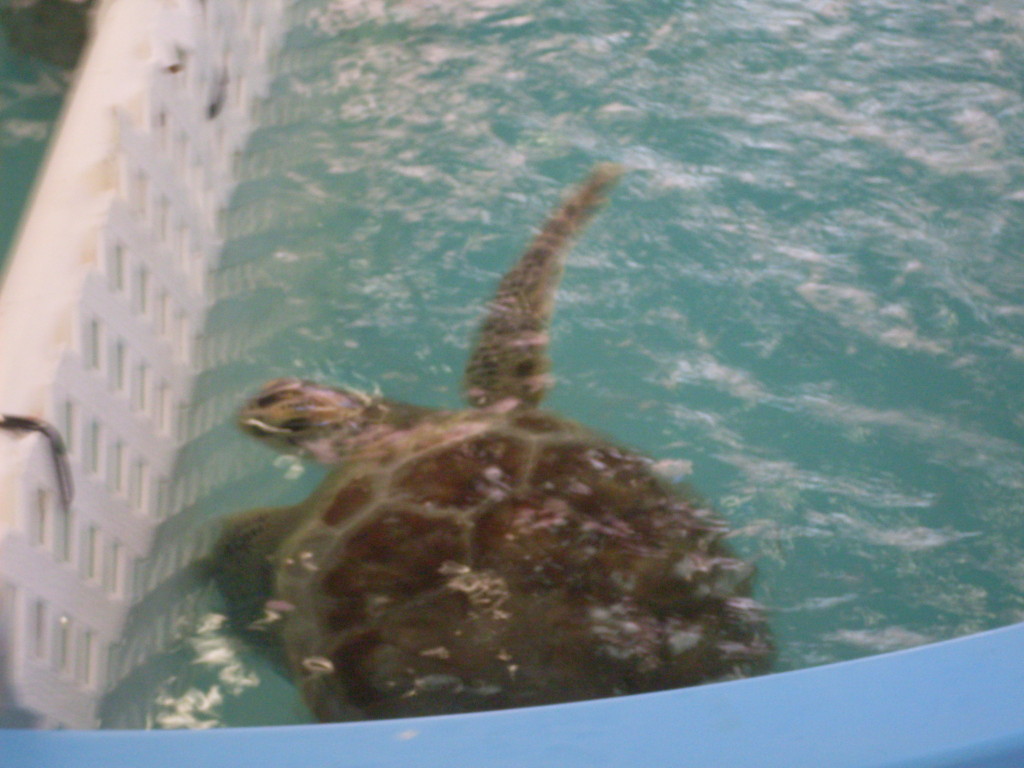 There’s festivals on Jekyll Island as well! In May, there’s the Turtle Crawl Triathalon and Nest Fest. It is a triathalon and 5K run usually followed by a turtle release after the race. Nest Fest is an educational and fun way to learn more about how to help the sea turtles.
In September, Jekyll Island is host to the Shrimp and Grits Festival! This is where a number of cooks from around the south get together to cook up their shrimp and grits to determine who has the best of the year!
I hope you get a chance to visit my beautiful state very soon! There’s so much more to explore than I have touched on! For more places to see and things to do check out the Explore Georgia website.
Linked up to the Bloggy Brunch Link up
Etching a Baking Dish
Today’s guest post comes from Olivia! She’s a wife, mom, and teacher/waitress. She blogs about being a housewife, teacher, and mom!
Hey ya’ll! It’s Olivia from Olivia Makes a Life!
Today I’m guest posting with a tutorial on how to make an inexpensive yet glamorous wedding present! This has been my go to present for years now, and brides always tell me how much they love it! It’s a monogrammed glass baking dish.
For this tutorial, I am using my Cricut and Cricut Craftroom. I have the original Cricut Expression that I bought from Cricut through Ebay probably at least 5 years ago. I love it! Yes, they have come out with many new models since then, but I stick to mine because it still works. I don’t need all the bells and whistles of the others because the Expression does what I need it to.
Supplies:
–Cricut (If you don’t have one, I will explain at the end how to get the same results using Word.)
-Cricut Craftroom
-Contact paper or thick card stock
–Armour Etch
–Foam brush or paint brush
–Glass baking dish
First step, measure the bottom of your dish. You want to make sure you know how wide your dish is, so you make your lettering to fit within the limits.

You’re probably think, “Uh, I bought a 9×13, so isn’t it 13 in?” Not necessarily. I typically use a 9×13, and many times they are about 11.5 inches wide on the bottom.
Next, pull up Cricut Craftroom. For this dish, I just used the Cricut font they have available for free through the program. You can use whatever font you like. I have Paper Lace 2 and use it often.
Click add text box, and write whatever you want in there! For the example, I wrote “Myers.”

I usually mess with the spacing. It’s typically set to 5. I reset mine to 0. This just makes the letters closer together; therefore, you can make them taller and they’ll still fit across the dish.
Next, click the actual text box and look towards the top of Craftroom beside “Cut.” There will be boxes labeled “x” and “y.” Make sure the one dealing with width is within the width of your dish. (I would recommend making it an inch or so smaller just to make sure it all fits in.)

Now, the MOST IMPORTANT step, that I basically always forget to do and then have to redo everything! FLIP IT! (Flip it real good…) If using contact paper, you must flip whatever you are cutting. If you don’t flip it, you will etch it backwards. The flip button also runs along the top of the tool bar.

Ok, almost ready! Cut your contact paper and stick it on your mat. You want the clear side facing up. Then click the “Cut” button. You need to adjust the type of paper to vinyl. Depending on your machine, you may have to do a few adjustments on your machine. Then load and cut!

As you can see, I forgot to flip it the first time I cut it.

Viola!
Now you have your stencil. For this dish, I put “Est. 7-9-16” as that was the wedding date. Usually I put a little flourish or design.
Take your dish and turn it upside down, so the bottom of the dish is facing up.

Now gently peel your stencil and apply it. If I am doing more than just the name, I cut the stencil to make it easier to apply. Make sure the contact paper is stuck flat to the dish, or you will get runs outside the stencil. It will look backwards, but that means it will be facing the right direction when you flip the dish over.

Make sure you have whatever surface your using protected-this stuff etches glass!
Take the Amour Etch and apply it to the stencil in a thick layer. It is easiest to use a small foam brush, but I didn’t have one on hand, so I used a tiny paint brush. Try to apply the cream as evenly as possible. If it goes outside the stencil, wipe it off with a wet cloth immediately.
Let the dish sit. I let it sit at least 30 minutes. The longer it sits, the more noticeable the etching will become.

Once you are done with etching, leave the stencil on and use warm water to gently wash the etching cream off.
Once it is all off, peel of the stencil, and you are done!

See! It’s not that difficult and makes a super nice, personalized present. I usually throw in a serving spoon and spatula then wrap it in cellophane. and top with ribbons. I have one my mom made me the Christmas before I got married and still use it all the time!
If you do not have contact paper, you can do the same thing with thick card stock–just be sure to tape it down really well.
When my mom made my dish, she did not have a Cricut. She found a font on Word and printed it out. She then used and Exacto knife to create the stencil for the dish. Yes, this would take a little longer, but if you don’t have a die cutting machine, you can still make this present!
I hope you enjoyed this tutorial. Now you can rock the reception!
Note: This post contains affiliate links.
There’s No Place Like Home
There’s no place like home. If you have been reading my blog for any amount of time you know that The Wizard of Oz is my favorite movie.
There’s no place like home has become such a life lesson from the movie that everyone knows this one line even if you have never seen The Wizard of Oz before! If you have never seen Oz, then I’m sorry, but we can’t be friends anymore! Haha! I’m kidding! (Kind of! Maybe not!) =) Okay, fine we can still be friends!
Anyways, Just after the Fourth of July Mr. RCGG and I moved from the Atlanta area to Savannah, GA. We have been wanting to get down the area for quite some time and finally were able to when a new job was offered to my husband. He worked for the USPS for a a couple of years in Atlanta, but our hearts were in the Coastal Georgia area. He applied to several jobs in the area with the USPS and also other jobs out side the USPS. In late June Mr. RCGG was offered a job with FedEx. It was in Hilton Head SC, so we moved to Savannah Georgia a week after the Fourth of July.
My life for the past week and half has consisted of unpacking boxes, shopping for household items, lots of laundry, lots of dishes, and deciding where we want things to go. It’s been a long process, but we are finally settling into our new apartment. It’s been exciting to figure out how I want to decorate and finding things to match the decor ideas in my head. I’m still figuring out some rooms so when I have them done I’ll do a home tour!
As for now, you’ll have to excuse me while I go watch The Wizard of Oz! Haha! Writing this post made me want to watch it. Even though I know every single line of the movie by heart! =)
10 Ways to be Kind to a Stranger
10 Ways to be Kind to a Stranger
Hey everyone! I’m Pam and I blog at The Coastie Couple with my husband. I’ve known Cate for quite a while now and I’m excited to be a guest today on the blog. With so much negativity in the world lately, I thought I’d focus on small ways we can help others on a daily basis.
1. Hold a door for someone, especially if their hands are full.
2. Offer to help someone get something off the shelf. (As a short girl, I appreciate it when people offer to help me reach the items on the top!)
3. Clean through your clutter and donate the items you no longer need to a Goodwill, Animal Shelter, Orphanage, etc. Check with local organizations to see what they’re looking for and how you can help. It definitely beats filling our landfills.
4. Smile at a stranger. A smile is still a powerful thing.
5. Pay it forward at the register by paying ahead for the next customer.
6. Allow someone to go in front of you in the line at the store – especially if they only have a couple of items in their hands.
7. Compliment others on their clothing, hairstyle, or other feature that you like. Make sure it’s a genuine compliment that comes from the heart though.
8. Offer to help clean up after someone hosts a party or invites you over for dinner. Even if there’s no way you can help, the host will appreciate the offer.
9. Volunteer with a local organizations. Animal shelters, museums, libraries, nursing homes, and many other places often have ways that you can volunteer and help out.
10. Keep an eye out for ways you can help others. Most people appreciate it when you randomly offer help in a situation.
11. Since Cate’s blog is all about crafting, I’m throwing in one last extra! Craft for a cause by donating an item that you make to others!
What your favorite ways to show kindness to others? I’d love to hear about them in the comments!!
Baked Buffalo Chicken
My mom made it a few times when I was growing up, but I never paid attention to how she made it! When I made it for dinner I realized just how easy it was! Who knew! Here’s how you make it:
You need:
4 chicken breasts (you can use other parts of the chicken as well)
1/4 cup hot sauce
1 tablespoon vinegar
1 tablespoon melted butter
1 teaspoon celery seed
1/8 teaspoon pepper
1/2 cup blue cheese or ranch dressing
Preheat your oven to 400 degrees. Spray a skillet with cooking spray. I made the chicken right in the baking dish instead of browning it. If you would like to do it this way the spray the baking dish with cooking spray and bake the chicken for 30-40 minutes.
Combine the hot sauce, vinegar, melted butter, celery seed, and pepper. Stir until it is well mixed. Pour over the chicken and bake uncovered for 25 minutes.
Serve with the ranch dressing or blue cheese dressing.
I always forget to take pictures when I’m making a recipe! So when I make this again I’ll update with the pictures! I would love for you to try making your own baked buffalo chicken! Let me know what you think!
Don’t forget to sign up for my newsletter! You can get sneak peeks into what’s going on in the RCGG world and exclusive subscriber only posts!
[gmc_recipe 4015]
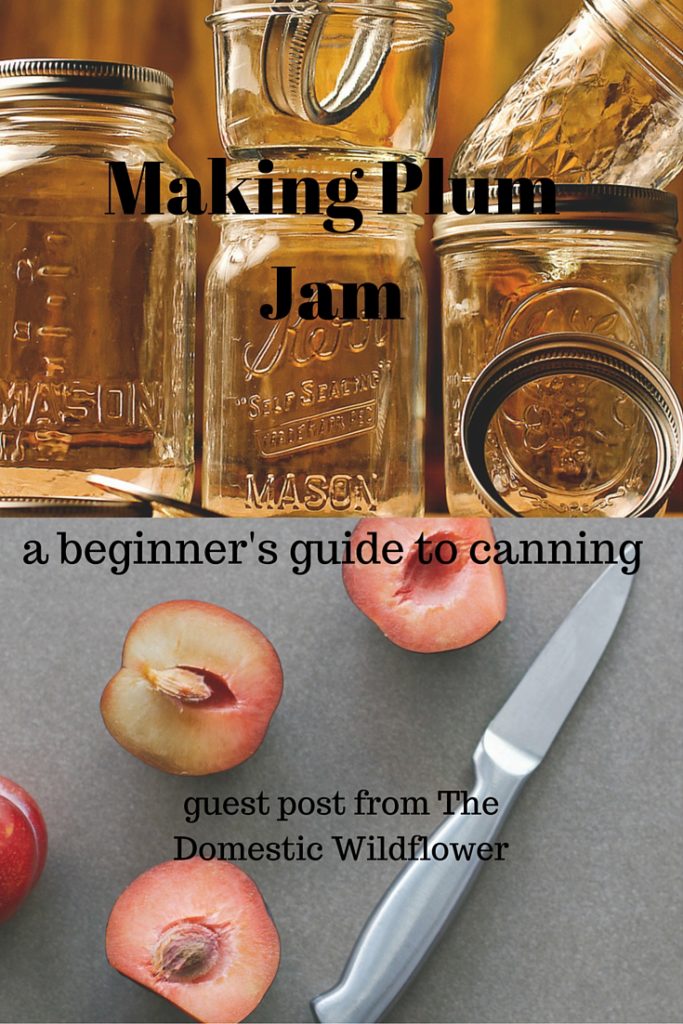
Domestic Wildflower Making Plum Jam
Have you ever made your own jam? Today Jenny from The Domestic Wildflower shares a recipe for making plum jam! She also shares a some places to read up on canning if you are interested!
